Welcome to The Recipe Corner, your new go-to spot for simple, delicious, and stress –free goodies straight from my kitchen to your phone screen. If you have found yourself wondering around in my wide world of foodery, then you may as well sit a spell and learn how to make Crunchy Top Pound Cake.
Pound cake is one of those desserts where a good one is hard to find unless you’re at the church social or in your grandma’s kitchen at Thanksgiving. Fighting all those siblings and cousins over the last piece can be absolutely exhausting, so after gathering secret intel on what makes the perfect slice of an at-home baker’s masterpiece, I have finally conjured up the best recipe to make your own pound cake.
Sharing is completely optional for this one.
Now, normally I would tell you to preheat your oven to whatever temperature is needed, but in this case, you can leave that oven as cold as the shoulder of whoever did go home with the last piece of Grandma’s cake.
I would also advise you to follow all the recipe steps to a tee or else you won’t be enjoying that cake with your sweet tea after dinner like you planned. Will you be eating cake? Sure! But will you be enjoying it? Probably not.
Let’s get to the good stuff!
You’re going to need six eggs and two sticks of unsalted butter at room temperature. I always take out my eggs and butter the night before, but if you happen to forget, you can throw your eggs in warm water for bit and your butter in the microwave for about ten seconds or so. 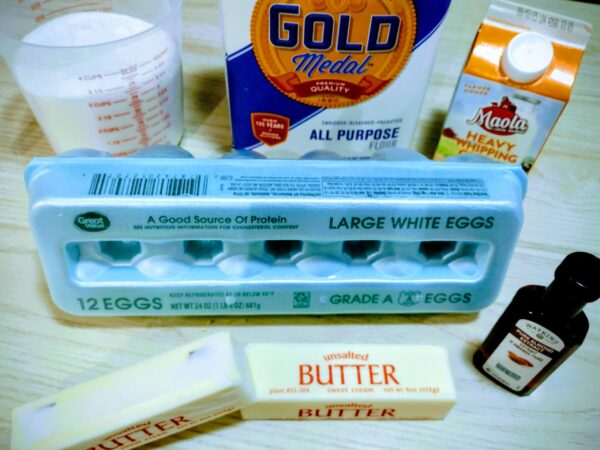
Next, you’ll need three cups of granulated sugar, three cups of all-purpose flour, one cup of heavy whipping cream, and two teaspoons of whatever flavor extract you prefer. My family loves the classic almond pound cake flavor, but you can use lemon, orange, vanilla, or even maple.
If you’re having a craving, pick your passion. It’s fine as long it’s not pickle flavored something or the other.
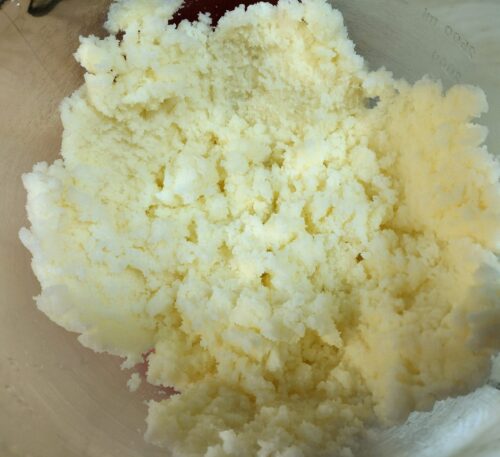 With a hand mixer or stand-up mixer, cream together your butter and sugar until well combined. It will be crumbly and have the look of soft little sugar pillows.
You remember the ‘ to a tee’ warning? We’ve reached one of those points.
 Add your eggs to your sugar mixture one at a time, beating for one minute after each addition. The whipping of the eggs will begin the process of building up your batter for the cake to rise.
It’s tedious, but you will thank yourself for giving those beater bars and your arm a workout.
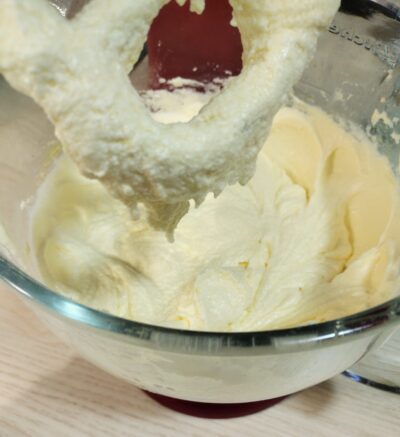
Begin adding your flour and heavy whipping cream to your mixture, alternating the two a quarter cup at time. Beat for one minute after each cream addition. Finally, add your two teaspoons of extract and mix until well incorporated.
 Now, I don’t know about you, but that batter has enough curves and fluff to make me blush. It’s definitely begging for a photo opt straight from the bowl.
After you have flirted and winked at your perfect creation (or was it just me?), let’s prepare a two-piece tube pan for baking our work of art.
This is also one of those important steps that can’t be ignored, so please follow it closely.
HEAVILY GREASE AND FLOUR YOUR TWO-PIECE PAN.
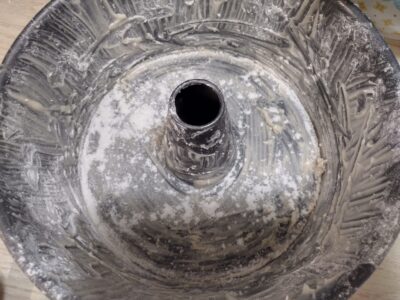 I found it best to use my finger to spread a thick layer of shortening around the seal where the flute and the outside ring meet while they are nested together. I then flour the inside ring, bottom of the pan, and the sides of the flute.
You can also make a pan release by mixing 1/2 cup each of shortening, vegetable oil, and all-purpose flour to grease your pan.
*Note* If you use the pan release method, make sure to still flour your baking ring.
There is nothing worse than a homemade cake that won’t come out of pan no matter the amount of pleading, begging, and promises of drinking a cold glass of milk to wash it down with. Some of us older folks are stuck in our ways. Sometimes, a cake can be too.
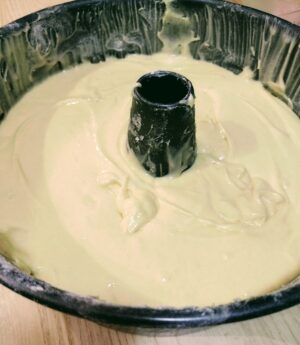 After you’ve greased and smeared your baking vessel like your life depends on it, pour your batter evenly into your pan. I usually give it a couple of shakes to level it out and to get rid of any air pockets.
Place the flute pan onto a baking sheet and slide them into the cold oven. Turn your oven over to 300 degrees.
All ovens are different, so your baking time may vary from mine. It usually takes about an hour and a half to two hours for my cake to bake, but I would recommend checking it about every ten minutes after the 90-minute mark.
You’ll know it’s ready when you can slide a toothpick into the baked cake, and it comes out clean.
As soon as you pull that hot confection from the oven, separate the ring from the base of your two-piece pan.
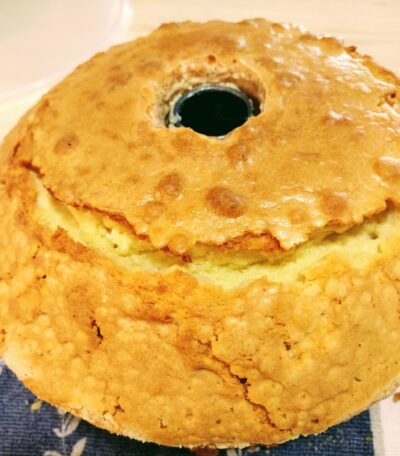 It’s going to be beautiful, and your whole house is going to smell like a fancy bakery, but for the love of George, DO NOT CUT THAT CAKE.
I understand the wait will be traumatizing, but let your pound cake rest uncovered on the counter overnight. The magic happens when the cake has cooled completely, compacted, and the top and sides have formed its namesake’s crunchy texture.
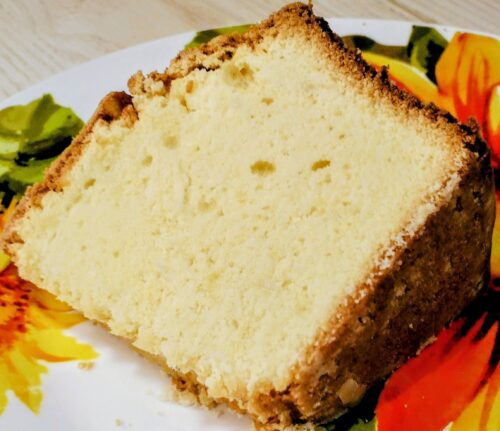 Then, my diligent friend, you can have cake for breakfast. In the process of eating, you can make the decision to hide your ‘precious’ for yourself or share it with your fellow hobbits. Second breakfast is also an option too.
The total prep and baking time for this recipe is about two and a half hours, so I would set aside your Saturday afternoon if you’re going to serve it for Sunday dinner. In total, you have six ingredients, seven if you count the shortening. The best part is you probably already have most of them in your pantry.
Have your apron handy and be sure to check back in at The Recipe Corner each week. There’s bound to be something here that will have your kitchen smelling amazing, and the mama in you smacking hands away from a plate. See you next time!